Sassy January Layout Series #13
Welcome to the 13th segment in a series of 31 that will be shared during the month of January. Click here to find out more about the Sassy January Layout Series.
Today's layout was also designed by Close To My Heart's art department for the January Album retreat. I changed the colors a little to work with my photos. CTMH used more orange tones, which I converted to pinks and then made a few more tweaks along the way.
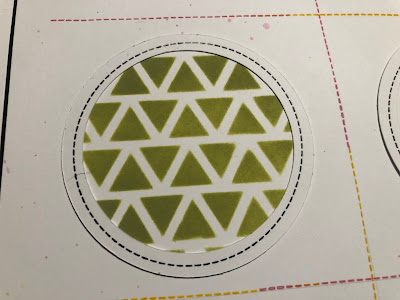
Creating this layout truly extended my uses of the Distress Oxide inks. I loved learning, and then teaching, how to create the stitched sunbeams and then taking it a step farther and creating the patterned circles for the right page with the stencils. So many possibilities!
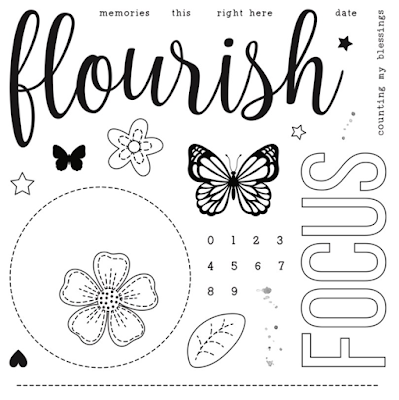
CTMH introduced a special stamp set just for the album retreat and as of Monday, it is now available for anyone to purchase. It is a fantastic stamp that I know I will use over and over.
(D2008) Count My Blessings.
For this circle, I used the light side of Canary cs, and the Mustard Seed Distress Oxide ink.
For this circle, I used White Daisy cs, and Peeled Paint Distress Oxide Ink.
Also note how the stitched grid blends the colors - this is done by inking one color over or with another colors. It creates a really unique color blending.
For this circle, I used the light side of the Flamingo cs and the Pickled Raspberry Distress Oxide Ink.
For this one, I wanted to point out the stamped stitching that was created with the stamp set and Black ink,
Here you can see the splattering that was done with the Distress Oxide inks and the waterbrushes.
The sunburst was created with the long stitched border from the stamp set. It was done in alternating colors, in first, second and third generation stamping and then also with blending. I shared a how-to-video in my In All Sassiness Scrapbooking Facebook group if you would like to learn how to create this effect.
After the sunbeams were stamped, I used those, and the perimeter line to stamp the title along the curvature and adhered the pink acrylic shapes in between each word.
Supplies Used: (D1966) Simple Serif Uppercase, (D2008) Count My Blessings, (Z2805) Black Exclusive Ink Pad, (Z3827) Picked Raspberry Distress Oxide Ink, (Z3831) Peeled Paint Distress Oxide Ink, (Z3830) Mustard Seed Distress Oxide Ink, (Z3833) Stencil Set #2, (X9023) Jan-Feb Mix Ins, (1385) White Daisy cs, (X6050) Flamingo cs, (X5982) Canary cs, (X7264S) Happiness Lives Here Sticker Sheet (from paper pack set), (Z3850) Pink Acrylic Hearts, (Z3224) Waterbrush.
--------------------------------------------------------------
For the class kit version of this layout, the circles are all pre-cut and stamped for you, and the the patterned circles are all pre-down for you. The patterned papers are included as well as the bases and a full sheet of Flamingo for the mat on the left side. A full package of Pink Acrylic Hearts is included and bulk stickers for the word sunshine. Included will be the link to how to create the Sunbean pattern. For this, you can use a stitched border that you already have, or you can add on the featured stamp set ,
Count My Blessings, for $17. The title can be stamped with any alphabet stamp set. I used
(D1966) Simple Serif Uppercase.
Today's partnering product special is on the Stencil Sets. There are three different sets, each including three stencil. You can buy one set, two sets or all three sets for a special price of $12. Set #2 is the set that I used in this layout. I love the possibilities with the various patterns. This product special is valid until 9:59am on 1/24/21.
You can purchase both the featured layout, or partnering product special in my shop at:
www.inallsassiness.com.
Sassfully yours,
Tonya


No comments:
Post a Comment