Showing posts with label Chelsea Gardens. Show all posts

Wednesday, February 24, 2021

SJLS #28 Shamrocking Together Layout

 Sassy January Layout Series #28:  Shamrocking Together Flip Flap Layout

Welcome to the 28th segment in a series of 31 that will be shared during the month of January/early February.    Click here to find out about the Sassy January/February Layout Series.

This layout was quite a delight to create!  It features the Chelsea Gardens paper collection which had such a fresh spring feel to it!  One of the unique things that I love about this layout is how the titles, and shamrocks are cut from the patterned papers!  They really pop with the pattern close up!


The Shamrocking was cut out with the Cricut.  The font is from CTMH's Flower Market.


The title was cut with a now-retired Thin Cut set.  The detail is extraordinary.  The zip strip (with the vine) is one of several selections that is in the kit.  These might slightly vary.


The year/date was cut with Thin Cuts and can be custom cut in the year of choice.  Or, as a different option, the title could simply be "Shamrocking Together" and leave out the "in XXXX".


Supplies used:  (retired) Chelsea Gardens paper, Sweet Leaf cs, Scalloped Border Thin Cut, Together Thin Cut.  (X5953) Charcoal cs, (Z3234) 3" Flip Flaps.

Saturday, May 25, 2019

Hugs! Chelsea Garden style.

This morning I wanted to share with you a card that I made quite awhile ago, and I just realized that I never posted it. I cannot take credit for the design as this was inspired by another consultant - I just can't remember her name.  The card is quite easy to create with our Block Thin Cut Alphabet set.  


To begin with, cut the background paper to the desired size - here I used White Daisy.  Using washi tape, tape down the letter dies where you would like them to be positioned - this way they will not move when being running through the Cuttlebug.  Run the dies through the machine and then remove the dies.  Cut the same size piece of paper and place under the one with the dies taped to it.  Run both through the machine and now you have a clean copy with the letters cut out.  You can use the letters on another project.

To make the words to "pop" from the patterned paper behind, adhere the "hugs" paper with Thin 3-d Foam tape to the patterned paper.  Embellish as desired.


Here is the awesome Thin Cut set that I used:  (Z3386) Thin Cut Block Alphabet Set 
Supplies used:
(X6027) White Daisy cs, (retired) Chelsea Gardens paper, (Z3314 )Black and White Dots, (X254) Value Pack cards and envelopes, (Z2060 )3-d Thin Foam Tape.

These cards are available as a set of 5 - which are all pre-cut for you - in my In All Sassiness Designs shop.  You can click here to purchase them.

Thursday, May 9, 2019

Chelsea Gardens cards

I fell in love with Chelsea Gardens all over again as I worked with the scraps that I had left from last year.  These are a few of the cards that I have created with the retired paper suite in the past few months.  The cards are all available in my card buffet.


Tuesday, May 7, 2019

Stitched Flower sympathy card

Today I wanted to share a card that I made with our new Thin Cuts - Stitched flowers. This Thin Cut set is amazing! The possibilities are endless! They are beautiful in vibrant and pastel colors however for this card I wanted to add the elegance of a white flower. I love the way it turned out! The card will be a new selection in my card buffet and the Thin Cut set is available to purchase on my website by clicking here.


Supplies used:

Wednesday, May 30, 2018

Family Portrait Layout with alligators!

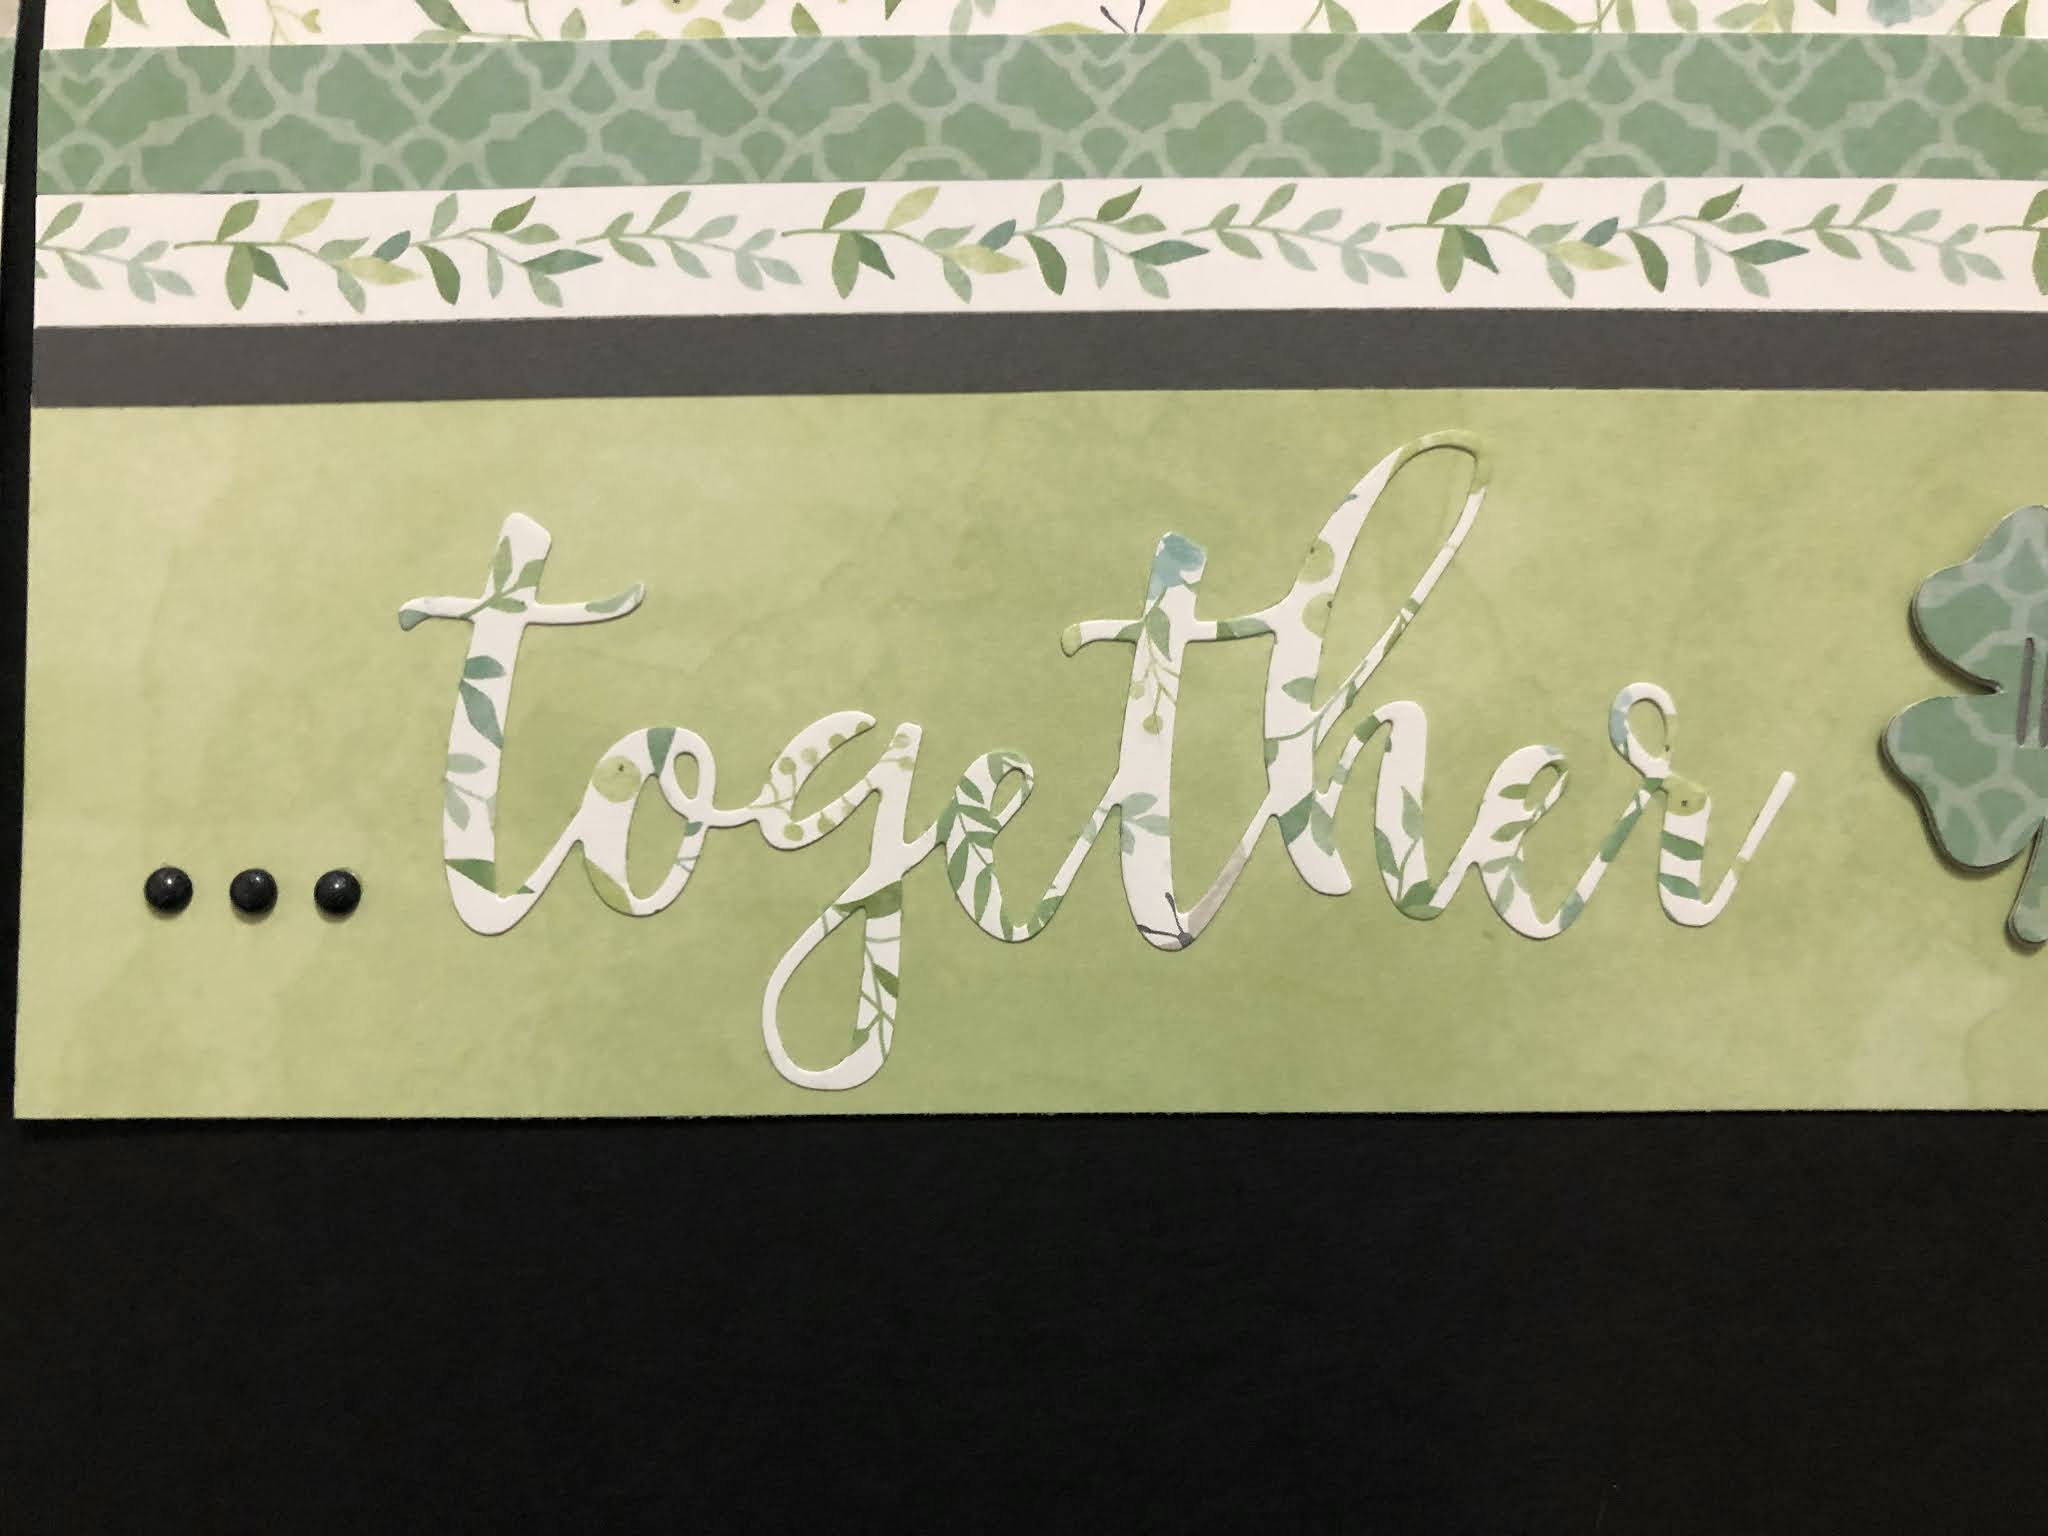
A fun twist on a neutral toned layout.  This layout was created with the Chelsea Gardens paper suite.  The colors are shades of greys, whites and blacks and are great for more formal photographs and also for allowing colors to pop!  In my case, my photos were darker than I would have liked but the brightness and the neutral shades of the papers brightened the photos.  My children were in shades of blacks and whites which really made the Christmas decorations pop as well!  

I loved the inclusion of the flip flaps as they allowed the layout to include additional photos and not have a cluttered feel.  I used the Cricut for the sub-titles "no live alligators allowed" as well as my journaling. This is quickly becoming one of my favorite tools.  If you look very closely, you will see that the title "The Jefferson Hotel" was Cricut cut as well.  So much fun!

To see any of details more closely, simply click on the picture and it will open larger in a new window.
Full Spread with all flip flaps closed.

Left page with 3 stacked flip flaps.  These flip flaps are stacked directly on top of one another.  
A chipboard heart is used to create a tab on the top flip flap.

Right page with 2 layered flip flaps.  This page uses two horizontal flip flaps.  They are not stacked as on the left side but one is above the other.  Make sure to leave a little bit of an edge so they don't snag on another.  Again, a chipboard heart is used for the tabs.

Here is the layout shown without pictures with the flip flaps closed.

Here is the same layout with the layouts flip flaps open.

Although the Chelsea Gardens suite is now retired, this kit is available in my In All Sassiness Designs Shop for $12.00.  The kit includes all of the pre-cut pieces needed to create the layout, a sheet of chipboard compliments, flip flaps, page protectors, bulk ribbon and embellishments, detailed instructions and a color photo.  For those who are local, select "pick up" to avoid shipping charges.