Sounds like an odd thing to do, doesn't it? The capability has been there before, but the task would have been incredibly time consuming. Now, with the new Studio J enhancements that were put into place on February 1st, creating Valentine's has become so much easier! Not a lovey-dovy type person? You could adapt this same idea for place cards, lunch box cards, and so many other possibilities!
What makes the Valentine's possible is the addition of the Express Collection: Photo Collections. So tonight I am going to walk you step by step through the process of using this new Photo Collection element to create your own Valentines.
So let's get started.
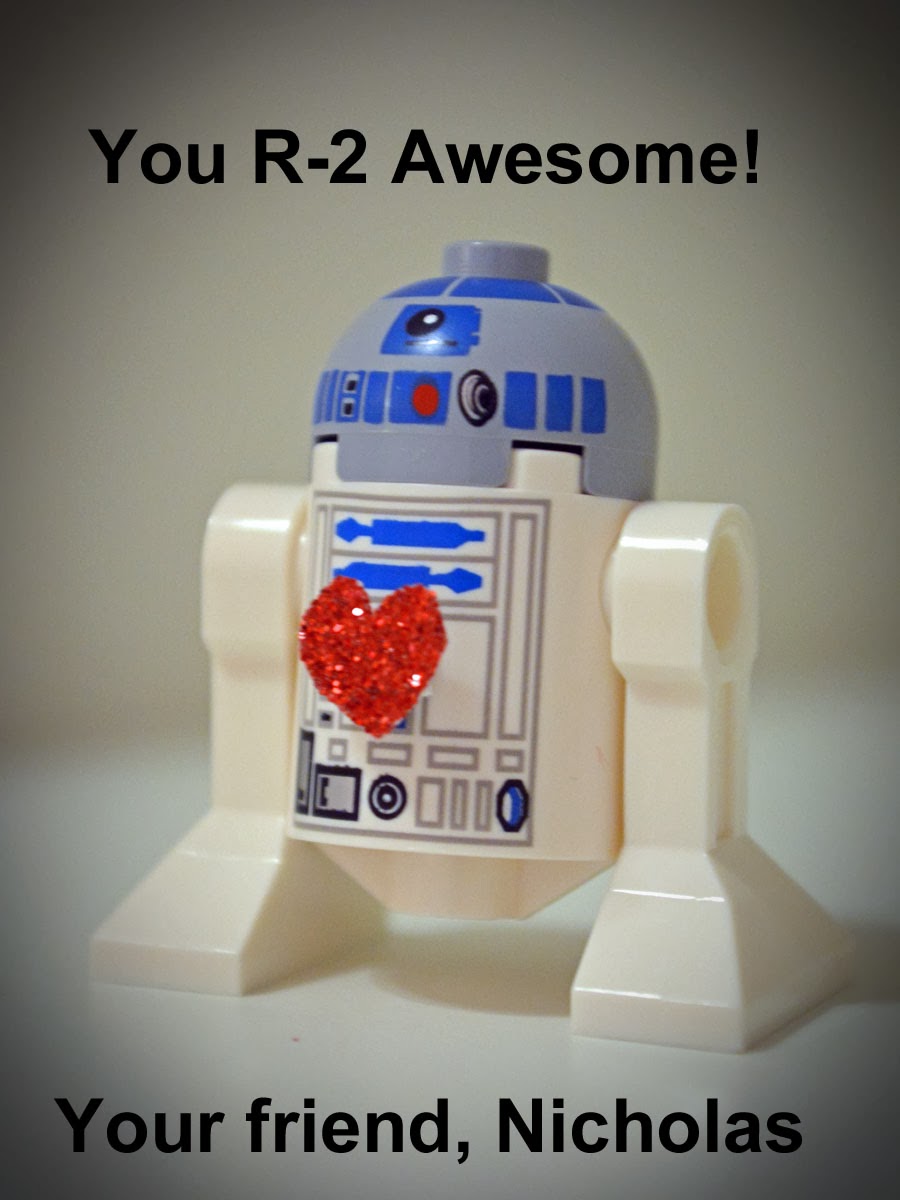
Here are the Valentine's that my son Nicholas and I created. He posed his characters and helped decide on what he wanted the verses to say. I then photographed them and took the photos to Adobe Photoshop where I sized them at 3" x 4" (which is important as you want the Valentine to fit into the photo well perfectly and not crop edges out), added some basic photo editing, text and vignettes and then saved the photographs. So from this point, I will refer to these as my Pre-Created Valentines.


This is what the Valentine's will look like when they arrive from CTMH. To see a larger view, click on the image and it will open in a larger window.

PRE-CREATED.
The first type that I will teach you is assuming that the image, altered picture, or "Valentine" has already been created in another program such as Adobe Photoshop Elements. I used Adobe Photoshop Elements 11 for my Star Wars Lego Valentines.
First, log-in to Studio J. If you don't already have an account, start here.
Click on "Create New Project".
Choose and type in a project name. Click "Create Project".
The upload photo screen will appear. If you have photos ready to upload, you can do so, if not click "Upload Photos later".
Click "Start with an Express Collection". (note to see any of the screenshots larger, click on the image and the picture will open in a larger window)

Click on to highlight "Photo Collections". Then click "Continue."

Next select a layout design from the Express Collection that fits your needs. For the classic Valentine size, click to highlight "3" x 4". Click "Continue".

Load your pictures using the load button on the left side of your screen. Once this is done, this is what your screen will look like.

Next, you will load the pictures into the photo wells. You will note that one "sheet" of the wells are horizontal and one "sheet" are vertical. If you need some of the horizontal wells to be vertical, you will need to change the orientation of the pictures in the photo area.
Before Rotation:

After Rotation: (see how the first R2-D2 and the Rebel guy are rotated?)

To add the photos into the photo wells, click the photo and drag it into the desired position until all are filled.

Next, to create additional pages, click "Add Layout" or to purchase the project, click "Buy Project". Then all you have to do is wait happily with your personal paper trimmer until Mr. or Mrs. Fed EX deliver the Valentines to your door.
CREATE ENTIRELY IN STUDIO J
The second type I am going to show you in a little more time consuming but still rewarding. This type would be used if you haven't pre-done the Valentine in a program such as Adobe.
Here are the cards that my son Gabriel and I created. As most of my followers know, he is passionate about Polar Bears, and truly that is an understatement. We were not able to find Valentine's with Polar Bears on them (I know, go figure right?)...so I decided to get creative. We found a stock photo at Fololia.com and that is where we started. We decided that the photo would look best as a square concluded on 4" x 4" as our finished card size.


To create:
First, log-in to Studio J. If you don't already have an account, start here.
Click on "Create New Project".
Choose and type in a project name. Click "Create Project".
The upload photo screen will appear. If you have photos ready to upload, you can do so, if not click "Upload Photos later".
Click "Start with an Express Collection". (note to see any of the screenshots larger, click on the image and the picture will open in a larger window)
Click on to highlight "Photo Collections". Then click "Continue."

Next select a layout design from the Express Collection that fits your needs. This time, we will be using the 4" x 4" layout. Click "Continue".

This is what your screen will now look like.

Next, drop the photo from the photo box into the first upper photo well. Use the pop up box to edit the photo as desired. For my photo, I changed the size to 130 in size.

For further editing, such as adding text, I highly recommend using the zoom tool. This helps with the detail work significantly. To give you an idea of the edits I made: I added a journaling box, changed the font to Shoebox, set at size 22 and then turned the vellum off.

Next, I added a second text box with a few edits: again, changed the font to Shoebox, the size to 16, angled the box and then turned the vellum off.

Here is a screen shot of the finished card.

Now, you would repeat the process for each of the remaining 17 cells. At this point, at least not to my knowledge, the program does not have the capability to repeat the entire cell into another cell. You can copy and past the initial image but not the cell. Once you have completed all of the cells, your cell should look like this.

Next, to create additional pages, click "Add Layout" or to purchase the project, click "Buy Project". Then all you have to do is wait happily with your personal paper trimmer until Mr. or Mrs. Fed EX deliver the Valentines to your door.
And there you have it. If you try to make your own and become "stuck" along the way, send me an e-mail at: inallsassiness@gmail.com and I will try my best to help you! A disclaimer though...once you try Studio J...it becomes addicting!
Happy Scrappin'
No comments:
Post a Comment